


How To Cure Hiking Related Foot and Ankle Pain
Hiking is a unique activity – extensive walks over varied and often-slippery surfaces can put your feet under extreme pressure. Uneven ground, going up and down hills, and the extra weight that you carry in a backpack can put extreme pressure on your feet, in particular on your heels, arches and balls-of-the-foot. Without proper support to decrease the pressure, foot pain can quickly ruin a hike. If you’re a casual or avid hiker and are experiencing pain or if you want to prevent foot problems from your activity of choice, contact the Foot and Ankle Center of Washington today.
Some common conditions we see and treat in hikers include:
Proper hiking equipment include hiking boots, shoes and orthotics will offer proper support and decrease the extra pressure so foot pain won’t ruin the pleasure of your hike. Below is a look at which types of hiking boots, socks and orthotics will best benefit your feet as you hike.
Choose the Best Hiking Boots for Your Feet
A poorly fit or made hiking boot made poorly can turn a great activity into a miserable one. Try our seven step guide to choose the best hiking boot for you and keep them in good shape:
Step 1: Consider the type of hiking you do
Casual hikers and hard-core backpackers will have different shoe needs. These are the six factors to consider based on the type, frequency and intensity of your hikes:
- Stiffness – Stiffer boots are better for hard-core backpackers.
- Support – Shoes that come up higher on the ankle are better for more serious hikers.
- Thickness of soles – Thicker soles are designed for harder terrain.
- Weight – Lighter weights shoes are usually made for less intense hiking.
- Breathability – If you’re in a warm climate or if your feet tend to sweat, this is important.
- Waterproof – If you’re in a wet climate or hike through streams, you want water repelling boots.
Step 2: Decide if you Need Orthotics in Your Hiking Boots
If you have orthotics you wear in your everyday shoes, you should also wear them in your hiking boots. To ensure a proper fit, take your orthotics with you to your boot fitting to make sure you choose boots with room to accommodate the orthotics.
Prefabricated Orthotics for Hiking Boots
 If you have foot pain, come see us before buying your boots. We may recommend a custom or prefabricated orthotic to treat your foot pain. Orthotics will affect your boot fit.
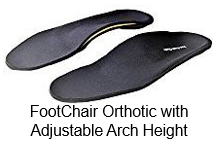
If you want to try a prefabricated orthotic, we have found that the FootChair Medical Grade Orthotic works well in most hiking boots. It is a very supportive arch support and in testing many arch supports it is one of the easiest to slide in and out of hiking boots.
FootChair is also unique in that the arch height is adjustable via pads that can be inserted into a pocket under the cover. This allows for more support and comfort when compared to other prefabricated orthotics.
Custom Orthotics for Hiking Boots
If OTC arch supports do not alleviate your pain, then you will want a consultation about custom orthotics. Contact us for an appointment and wait to buy your boots until you have your pre-fab or custom orthotics in hand.
Step 4: Get a Professional Fit by a Specialist in Fitting Hiking Boots
We can refer you to a store that offers expert fitting services to ensure you get the best hiking boots for your activity level and feet. Proper fit is critical. A quality fitting process for hiking boots should include measuring your feet with no weight on them and with weight on them. And if you plan on hiking with a heavy backpack, they should put that on you to make sure your shoes will fit properly once the extra weight spreads out your foot. We recommend going for your boot fitting later in the day when feet tend to be larger.
Step 5: Consider Hiking Boot Modifications
A good boot fitter will try to match your foot shape to the boot shape. If your toes are fairly square, they’ll recommend a boot with a square toe box. If you need a wide boot, they can find that, too. But even with an expert fitting, a boot may not be quite perfect, but is the closest fit you will find. That’s where modifications are useful.
You may need a custom insole or orthotic to perfect the fit or the boot itself may need an adjustment. A good boot fitter can cook, dry and pinch your shoes to make them fit better. For instance, if you have a bunion or bulge on your foot, they should be able to stretch your boots to accommodate the bunion comfortably.
Step 6: Try on the boots
You should do more than just slip the boots on and look at them in the mirror to see how they look and feel. You should put them on and walk around the store. At stores like REI, there’s a small incline board where you can walk up and down to test how the shoes perform on an inclines and declines. And remember, some shoes need to be broken-in for you to get accustomed to how they feel. But remember, shoes won’t stretch with wearing. If they are too snug or not comfortable when you buy them, this will not get better.
Step 7: Learn proper care of your boots
Properly cared for, good hiking boots can last for years depending on how much you use them. Hiking boots should always be treated with a waterproofing agent. But avoid silicon or wax-based agents which can clog the leather and make it less breathable. After a muddy hike, wash hose off your boots and scrub them (a basic floor-scrubbing brush is perfect to remove mud). Apply the waterproofing agent while the boots are still wet and let them air dry. You don’t need to reapply waterproofing every time, just when it looks like they need it.
Click here to download our Hiking Boot Shopping Guide. Be sure to take it with you when shopping for boots.
Choose The Best Hiking Socks for Your Feet
In addition to choosing high quality hiking boots or shoes that are a proper fit for your feet, proper hiking socks can help ensure an enjoyable hiking experience. A poor choice in hiking socks can ruin a beautiful day of hiking by leaving you with wet, blistered feet. To make sure you make a smart choice about your hiking socks, consider the following factors:
 Sock Weight
Hiking socks usually come in three weights – light, medium and heavy. The intensity of your hiking should determine which type you choose. A light-weight pair of socks should be all you need for a short, easy walk in the woods, while you will likely need heavyweight socks for a jaunt of several hours or days, over challenging trails. Some of our favorite hiking socks can be found here.
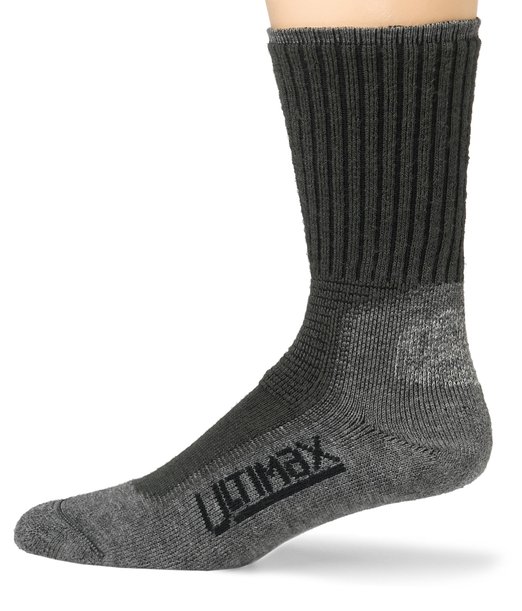
Sock Height
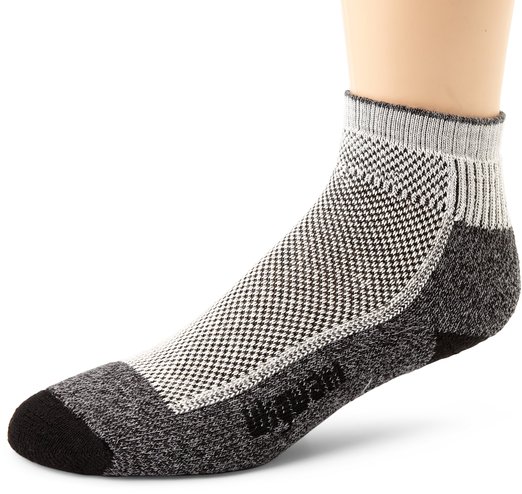
The height of the sock you choose will have a great deal to do with personal preference for comfort and fit. As a rule, the height of your hiking socks should be at least as tall as the height of your hiking boots. This will protect your legs from any rubbing at the top of your boots, especially for mid-cut or high rise hiking boots.
Sock Material
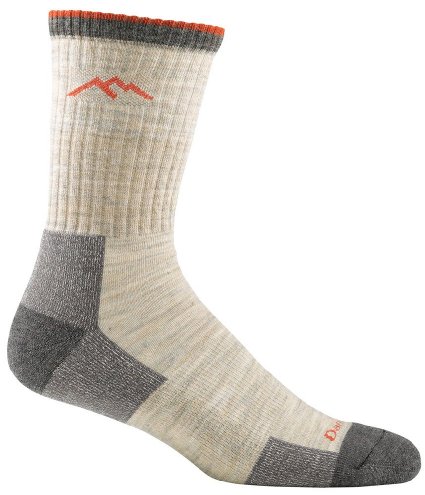
There are many natural and synthetic fibers that can provide the cushioning, moisture-wicking, and temperature-regulating features a hiker needs. Most anything made with Merino wool, which is both incredibly soft and highly breathable, can be a good choice. There are also a number of acrylic materials that have been shown in studies to be excellent for socks. Importantly, you must AVOID COTTON SOCKS for hiking – unless you enjoy blisters! See some great acrylic and wool socks here.
Sock Fit
Hiking socks should fit well and feel comfortable at all times. Well-fitted hiking socks will be snug, but not tight, and will be an appropriate length for your feet and height for your boots. Hiking socks that are too short will slip down into your boot, while ones that are too long will bunch at the toes.
Do you sweat a lot? Do your feet tend to get cold? If one of these is true, we may recommend specific types of socks for you. If you sweat a lot, see our page on sweaty feet. Make sure you know what socks you will wear before you buy hiking boots. Socks can affect boot fit so it is important to take your hiking socks with you when you try on boots to sure the fit is perfect. You can find high quality hiking socks here.
Consider Custom Orthotics for Hiking
Hiking is very stressful on your feet. The uneven ground, trekking up and down hills, and extra weight if you carry a backpack can all exert heavy pressure on your feet. Installing custom orthotics in your hiking boots can greatly enhance support to your feet, relieve stress on your heels, and reduce the pressure beneath the balls of your feet. Prefabricated orthotics may also relieve the stress of hiking for those with relatively minor foot problems. However, if you experience regular or chronic pain and discomfort when out on the trail, custom orthotics will usually be more effective.
If you hike occasionally, the orthotics from your walking shoes should be fine to use in your hiking boots. For the serious hiker, though, we recommend using custom orthotics designed specifically for your hiking boots. Using properly designed and fitted orthotics for hiking will make your long hikes much more comfortable and enjoyable, and will reduce the risk of injuries from long distance hiking.
Contact the Foot and Ankle Center of Washington for a consultation about custom orthotics for hiking.
Come See Us for Foot Problems That Affect Your Hiking
If you have foot problems that cause pain while hiking or fit problems with your hiking boots, come see us before you invest in hiking boots. When you come in for a consultation, we will closely examine your feet and look at calluses which can indicate how you walk on your feet. We will look at corns, blisters, any injuries and special condition such as bunions, plantar fasciitis or hammertoe.
Be sure to bring your hiking boots and any orthotics you wear to your appointment.
If you have a biomechanical issue that may require the use of either prefabricated orthotics or custom orthotics, we will make those recommendations. It is important that you take your orthotics with you when you buy boots to ensure a perfect fit. Once we are sure your feet are taken care of, we will refer you to a quality store for a proper hiking boot fitting.
Dr. Hale and Dr. Huppin are experts at helping hikers deal with foot or ankle trouble. Come see us in our convenient Seattle office – be sure to bring your current hiking boots and any orthotics with you when you come in for your appointment. Call (206) 344-3808 or click here to schedule online.